Yggflexisil
Yggflexisil "making of" photos and project video coming soon
Github repository here
Photoset on flickr here
Setup
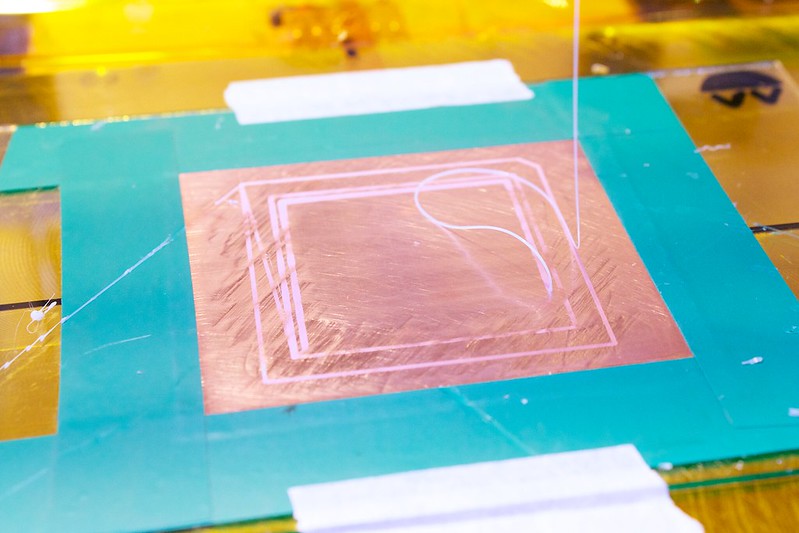
We used NinjaFlex filament for 3d printing the resist onto the Pyralux.
Attaching the Pyralux to a piece of glass helps with the consistency of the print results.
After it is done printing, make sure to check for any 'threads' of NinjaFlex that have to be cut.
Gently cut the thread with an xacto knife. You have to be careful about two things:
1. Lifting the other traces that the thread is connected to
2. Cutting through the backing material on the Pyralux
Taping down the edges of the Pyralux sheet helps with it not curling up when etching.
When etching make sure that it does not go under the resist (too much)
After etching is done and boards are dry, can remove the resist
To remove the resist, just find a corner that can peel off, and then pull it
Now you can remove the board from the glass
Make sure you clean your board (with water) before soldering to it
When soldering to it, have something under the board to absorb some of the heat
Add solder to the places that you do *not* want to flex
That's all!
How it was made
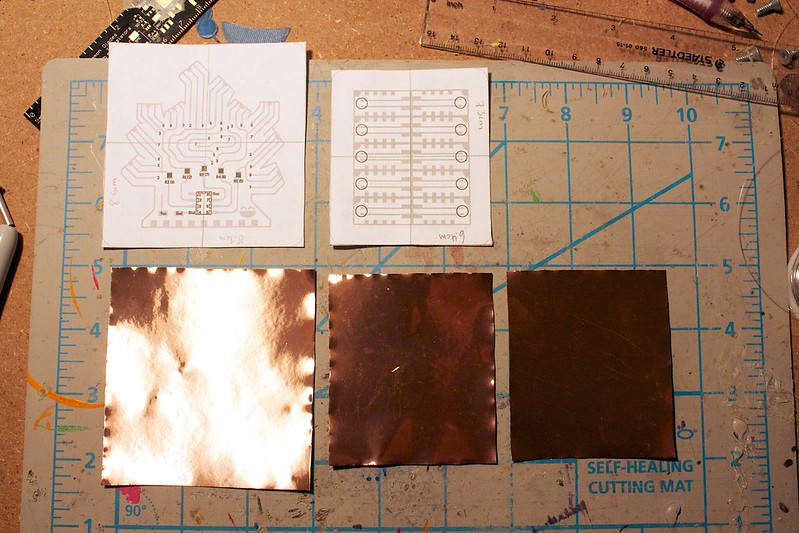
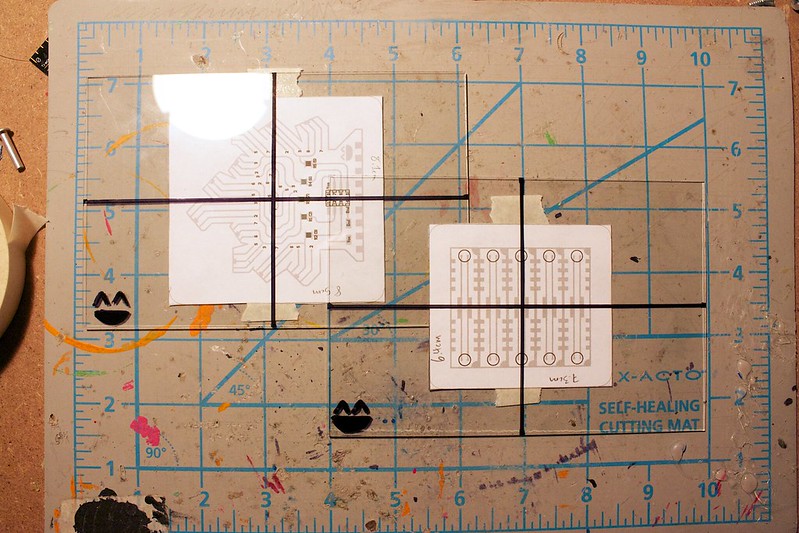
Start out by printing the boards onto a piece of paper, and cutting the Pyralux sheets to size (with some extra border space)
Tape the boards to the back of a 4x6 photo frame piece of glass. Then add glue over it.
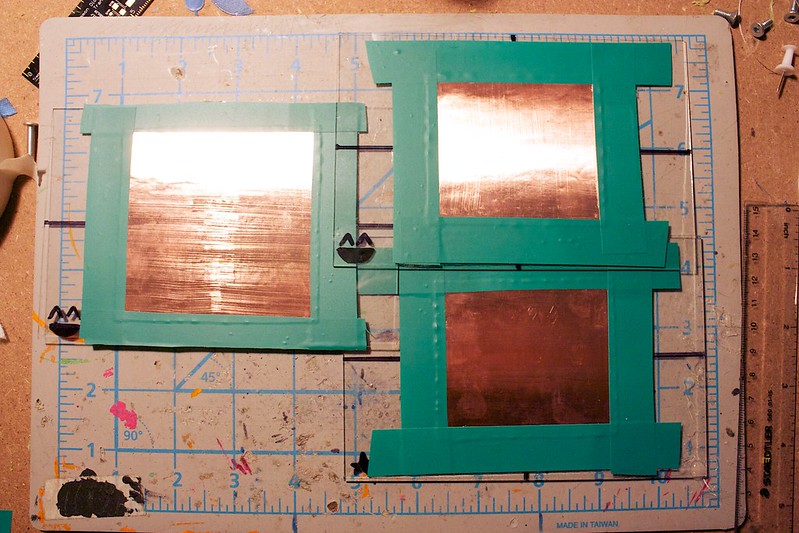
Place the Pyralux onto the glue (copper side up), make sure that there is no bubbles. Tape down the edges of the board.
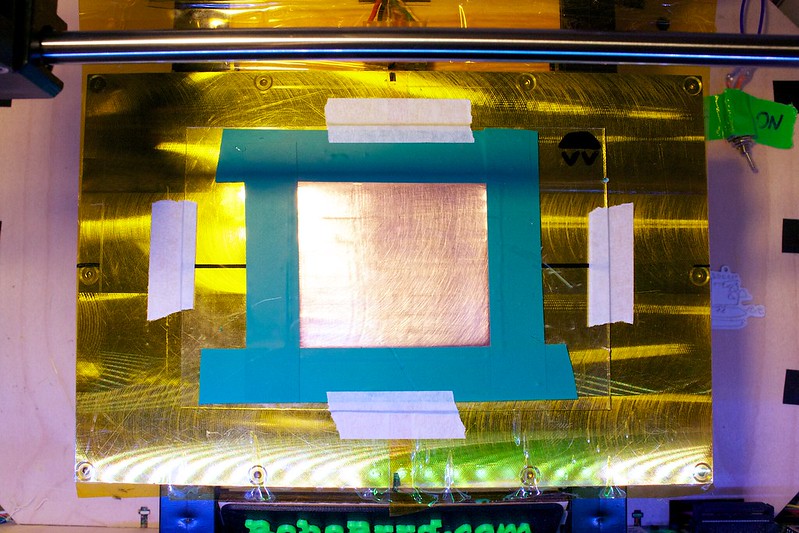
Place the slide onto the printer bed. Tape it down just in case.
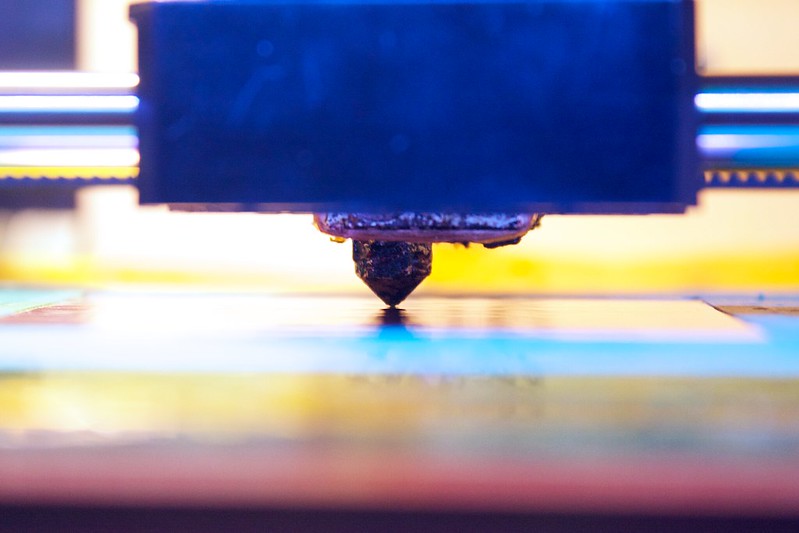
Level the platform, it will take a bit of trial and error
Lots of trial and error
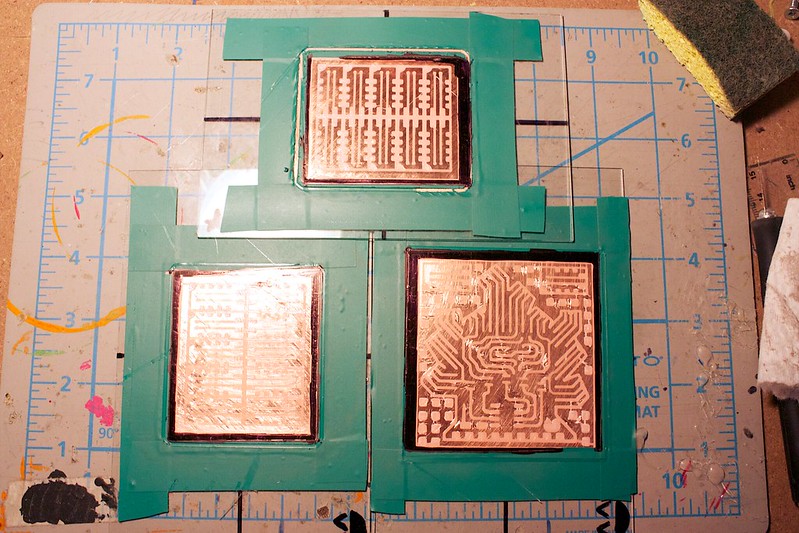
What the boards look like with the resist on them
More info coming soon!